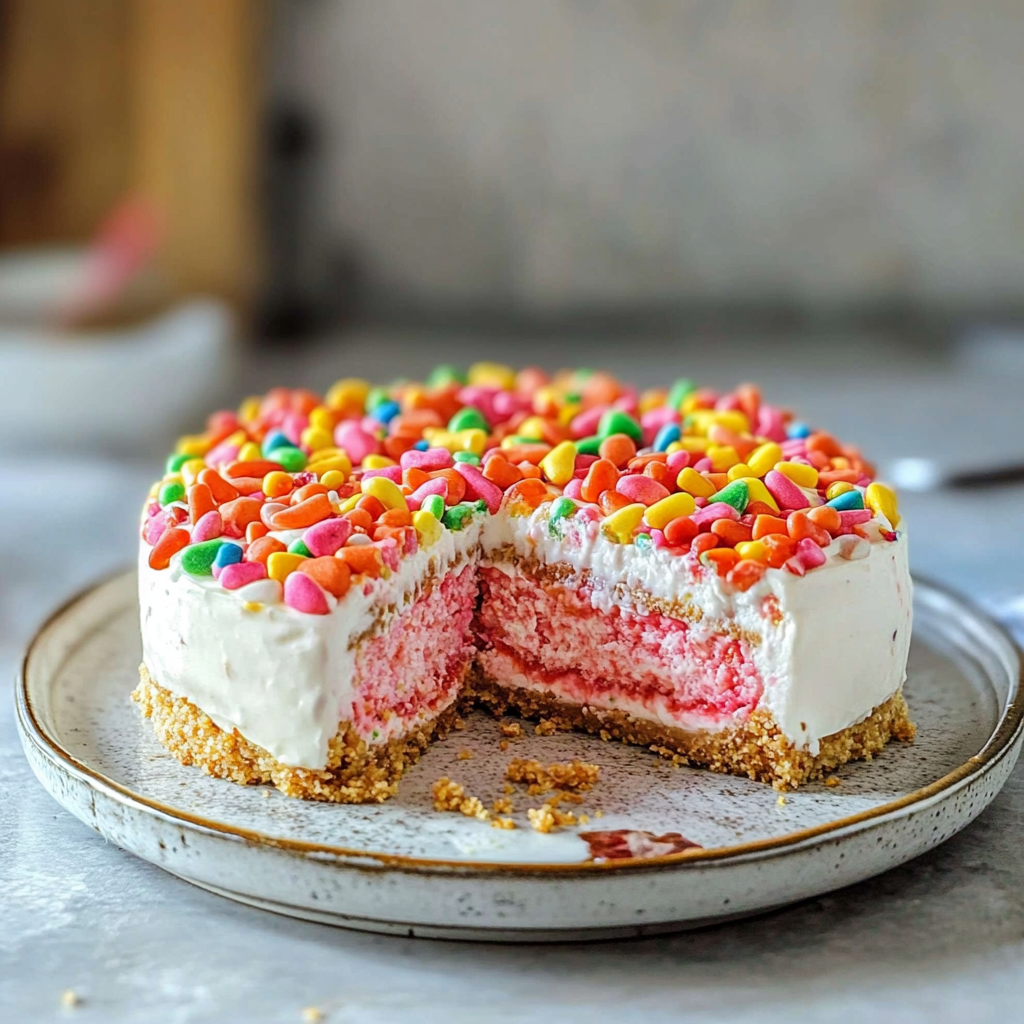
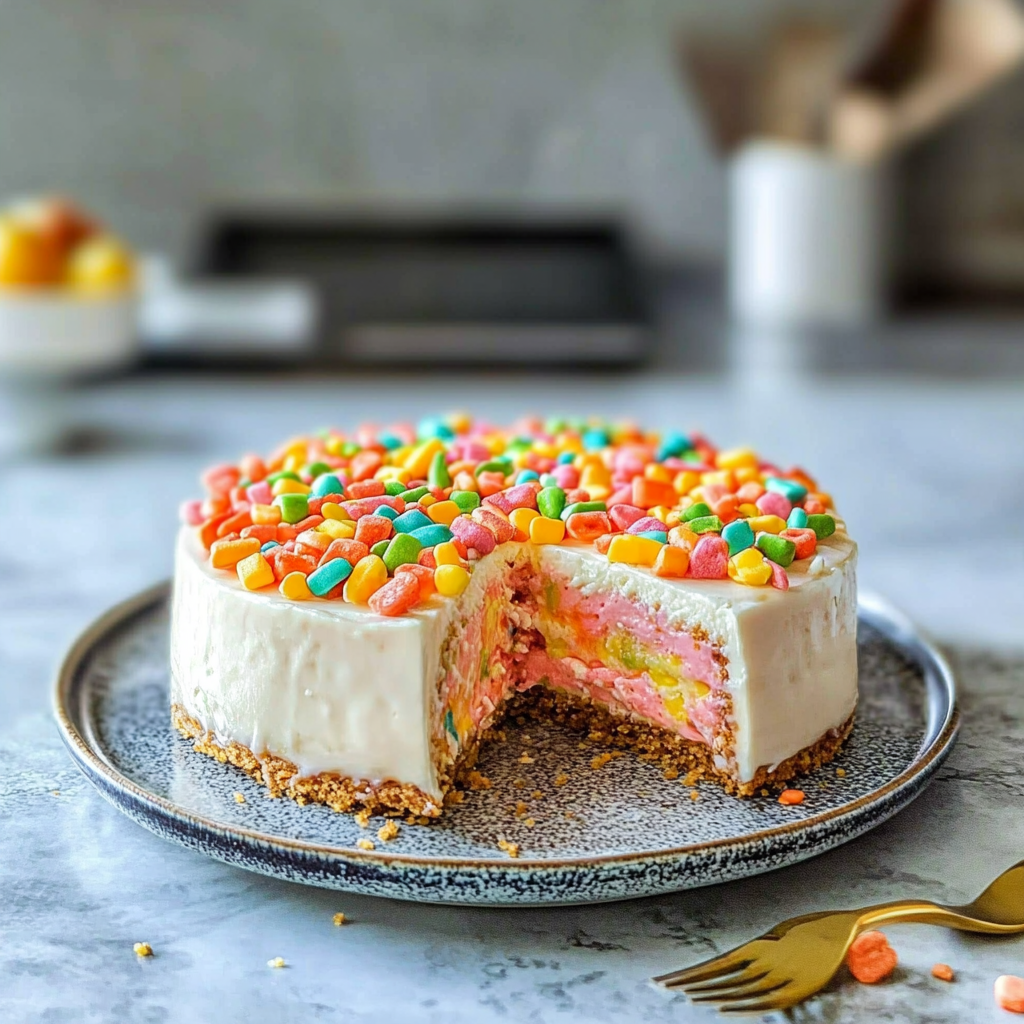
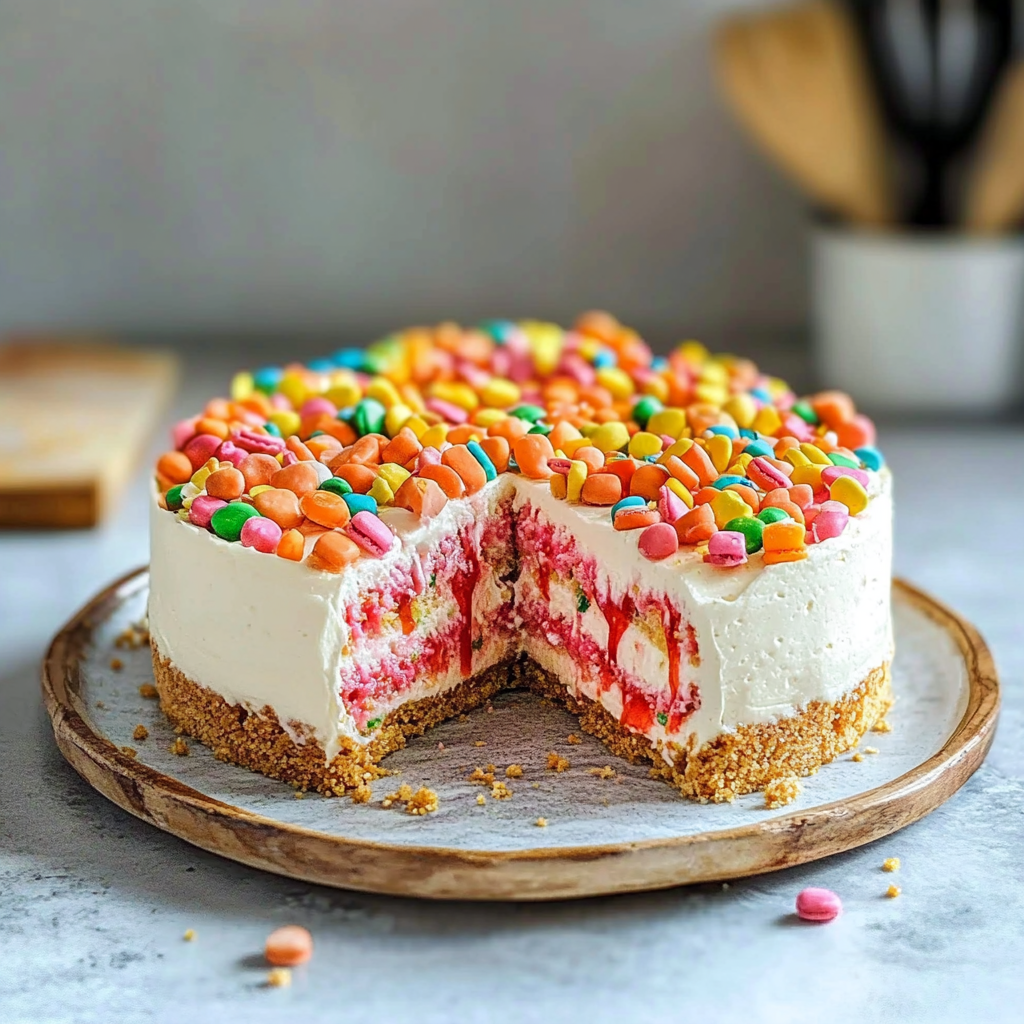
Imagine a dessert that’s so easy to make, it practically begs you to whip it up on a whim. A no-bake fun dessert is the answer to all your sweet tooth cravings without the fuss of turning on an oven. Picture this: creamy layers of delightful flavors melding together, topped with colorful sprinkles that bring smiles faster than you can say “sugar rush.” It’s the kind of treat that makes you feel like a kitchen wizard, conjuring magic from simple ingredients. No-Bake Dessert Ideas Berry and Peach Cheesecake Apple Crumble Cheesecake Black Cherry Cheesecake Bars. For more inspiration, check out this easy no-bake pumpkin pie recipe.

This no-bake fun dessert has been my go-to for every family gathering and spontaneous celebration. I remember one summer barbecue where I surprised everyone with this sweet creation. The moment I unveiled it, the kids’ faces lit up with pure joy, while the adults couldn’t resist sneaking a spoonful (or three). This dessert is perfect for those hot days when turning on the oven feels like a crime against humanity but still craving something sweet and satisfying.
Why You'll Love This Recipe
- This no-bake fun dessert is incredibly simple to prepare, making it ideal for last-minute gatherings
- The playful presentation and vibrant colors make it visually irresistible
- Its creamy texture paired with delightful flavors creates a party in your mouth
- Perfect for kids and adults alike, it sparks joy at any occasion!
I once brought this dessert to a potluck, and let’s just say my friends are still talking about it!
Essential Ingredients
Here’s what you’ll need to make this delicious dish:
Heavy Whipping Cream: Choose cold cream for better whipping; it helps achieve that luscious, airy texture we love.
Sweetened Condensed Milk: This magical ingredient adds sweetness and creaminess; be sure to use the good stuff.
Vanilla Extract: Pure vanilla extract brings warmth and depth; avoid imitation for best flavor results.
Crushed Cookies: Use your favorite cookies; Oreos work wonders but feel free to experiment with others.
Colorful Sprinkles: These little gems are not just for show—they add crunch and festivity to each bite!
The full ingredients list, including measurements, is provided in the recipe card directly below.
Let’s Make it Together
Prepare Your Mixing Bowl: Grab a large mixing bowl and chill it in the fridge for about 15 minutes. This will help keep your whipped cream fluffy as you mix.
Whip the Cream: Pour your heavy whipping cream into the chilled bowl. Using an electric mixer, whip until stiff peaks form, which should take about 3-5 minutes. You’ll know it’s ready when you can hold the bowl upside down without losing a drop!
Add Sweetness: Gently fold in sweetened condensed milk and vanilla extract using a spatula. Be careful not to deflate those wonderful peaks you just created.
Mix in Crushed Cookies: Fold in crushed cookies until evenly distributed throughout the mixture. The chocolatey bits add texture and flavor that will have everyone coming back for seconds.
Layer It Up!: In a serving dish or individual cups, alternate layers of your creamy mixture with more crushed cookies. Top off with colorful sprinkles because who doesn’t love sprinkles?
Chill Before Serving: Cover your masterpiece with plastic wrap and let it chill in the fridge for at least 2 hours. This allows all those delicious flavors to meld together beautifully!
And there you have it! Your no-bake fun dessert is ready to steal the show at any gathering or simply satisfy those late-night cravings. It’s like bringing sunshine into your kitchen—easy, delightful, and oh-so-sweet!
You Must Know
- This no-bake fun dessert is not only easy to make but also a showstopper
- The colorful layers and delightful textures will impress everyone
- Plus, it’s perfect for those hot days when you don’t want to turn on the oven
- Feel free to get creative with flavors!
Perfecting the Cooking Process
Start by preparing your base; mix the crust ingredients first, then layer your fillings in a chilled dish. This sequence ensures that everything sets beautifully while you work on the next layer.
Add Your Touch
Consider using flavored extracts like almond or coconut for the filling. You can also swap out chocolate for fruit purees, giving your dessert a fresh twist.
Storing & Reheating
Store the no-bake fun dessert in an airtight container in the fridge for up to five days. No reheating needed; simply slice and enjoy cold!
Chef's Helpful Tips
- To achieve the best texture, ensure your cream cheese is softened before mixing
- Keep your layers even for a professional look, and don’t skip chilling time—it’s essential for setting!
Creating this dessert reminds me of my cousin’s birthday party when everyone dove into it like it was a treasure! Their faces lit up with joy as they took their first bites.
FAQ
Can I use gluten-free ingredients for this no-bake fun dessert?
Yes, substitute regular graham crackers with gluten-free options for a delicious alternative.
How long does it take to set the dessert?
Let the no-bake fun dessert chill for at least four hours before serving.
Can I make this dessert vegan-friendly?
Absolutely! Use dairy-free cream cheese and a vegan crust to keep it plant-based.
No-Bake Fun Dessert
- Total Time: 17 minute
- Yield: Approximately 6 servings 1x
Description
Satisfy your sweet cravings with this incredibly easy no-bake fun dessert. Perfect for hot days when you want something delicious without turning on the oven, this creamy treat features layers of whipped cream, sweetened condensed milk, and crushed cookies, all topped with colorful sprinkles. It’s a delightful crowd-pleaser that will have both kids and adults coming back for seconds!
Ingredients
- 2 cups heavy whipping cream
- 1 cup sweetened condensed milk
- 2 tsp pure vanilla extract
- 1 ½ cups crushed cookies (like Oreos)
- ¼ cup colorful sprinkles
Instructions
- Chill a large mixing bowl in the fridge for 15 minutes.
- Pour heavy whipping cream into the chilled bowl and whip with an electric mixer until stiff peaks form (3-5 minutes).
- Gently fold in sweetened condensed milk and vanilla extract using a spatula.
- Fold in crushed cookies until evenly distributed.
- Layer the mixture into a serving dish or individual cups, alternating with more crushed cookies.
- Top with colorful sprinkles and cover with plastic wrap. Chill for at least 2 hours before serving.
- Prep Time: 20 minutes
- Cook Time: None
- Category: Dessert
- Method: No-bake
- Cuisine: American
Nutrition
- Serving Size: 1/2 cup (120g)
- Calories: 350
- Sugar: 25g
- Sodium: 50mg
- Fat: 26g
- Saturated Fat: 16g
- Unsaturated Fat: 8g
- Trans Fat: 0g
- Carbohydrates: 30g
- Fiber: 1g
- Protein: 3g
- Cholesterol: 70mg
Keywords: For added flavor, consider using flavored extracts like almond or coconut. Swap out chocolate cookies for fruit-flavored ones to create a refreshing twist. Store leftovers in an airtight container in the fridge for up to five days—no reheating needed!