Introduction
Have you ever craved a sweet treat that transports you back to school days? These peanut butter lunch lady cookie bars are just that—they’re soft, chewy, and bursting with rich peanut butter flavor. Imagine biting into a warm bar, the aroma of freshly baked cookies enveloping you as nostalgia washes over your senses.
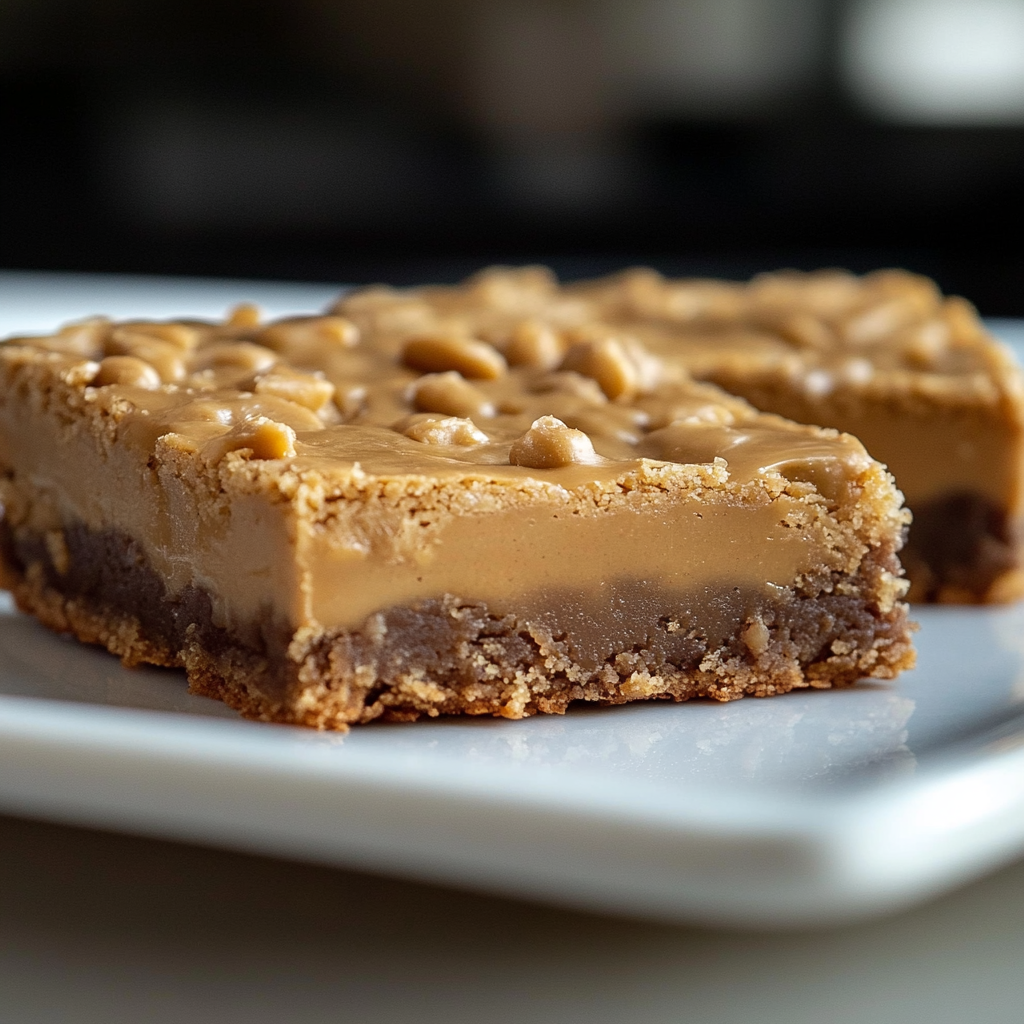
Perfect for any occasion, whether it’s a school bake sale or an after-school snack, these bars promise to satisfy both kids and adults alike. With their delightful flavor and simple preparation, they become an instant favorite in any household. Get ready to indulge in a taste experience that will have everyone asking for seconds!
Why You’ll Love This peanut butter lunch lady cookie bars
Quick and Easy Preparation: These peanut butter lunch lady cookie bars come together in no time! With straightforward steps and minimal ingredients required, even beginner bakers can whip them up effortlessly. You’ll spend less time in the kitchen and more time enjoying delicious treats with your loved ones.
Perfect for Sharing: Whether it’s a family gathering or a picnic with friends, these cookie bars are easily portable and perfect for sharing. Cut them into squares and serve them on platters; they’re guaranteed to disappear quickly!
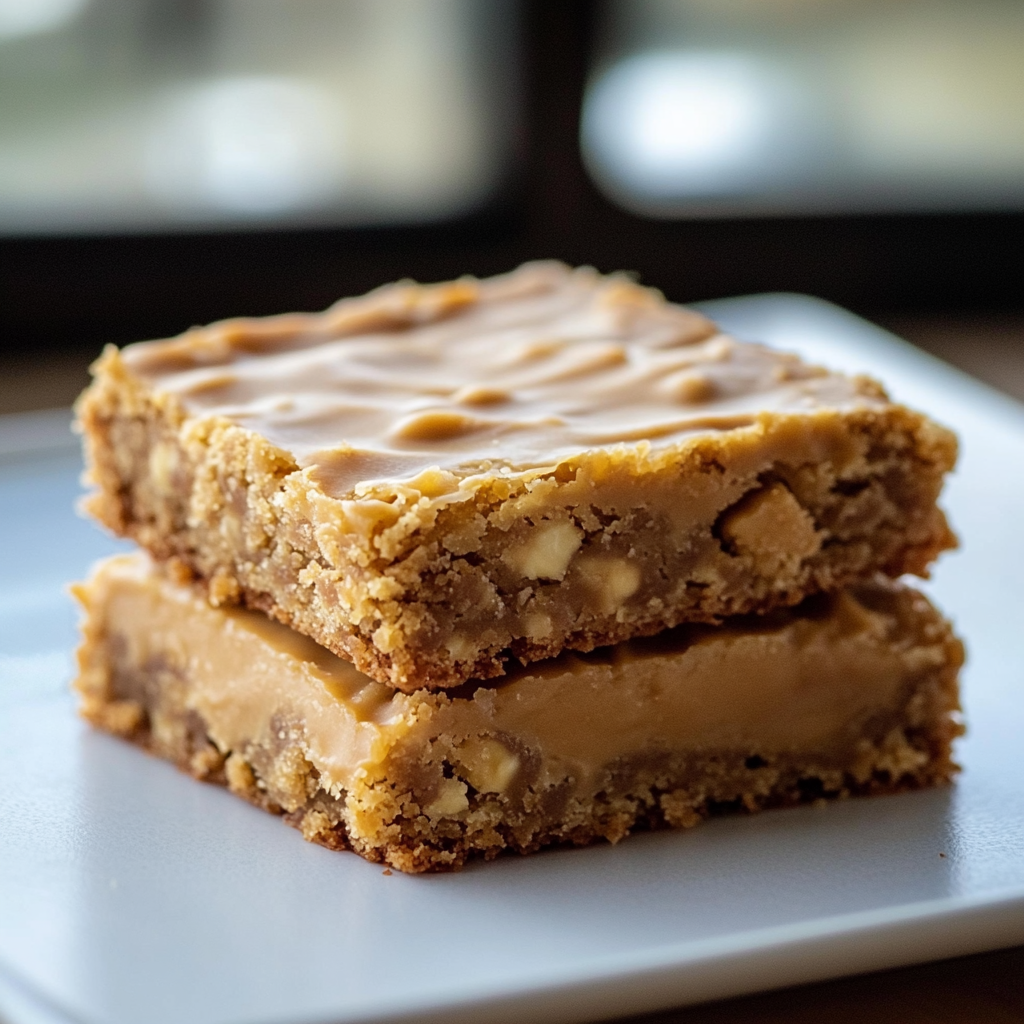
Kid-Approved Flavor: Kids can’t resist the rich taste of peanut butter combined with a sweet chocolate drizzle. These cookie bars are not only delightful but also provide a nostalgic connection to simpler times when school lunches included sweet treats.
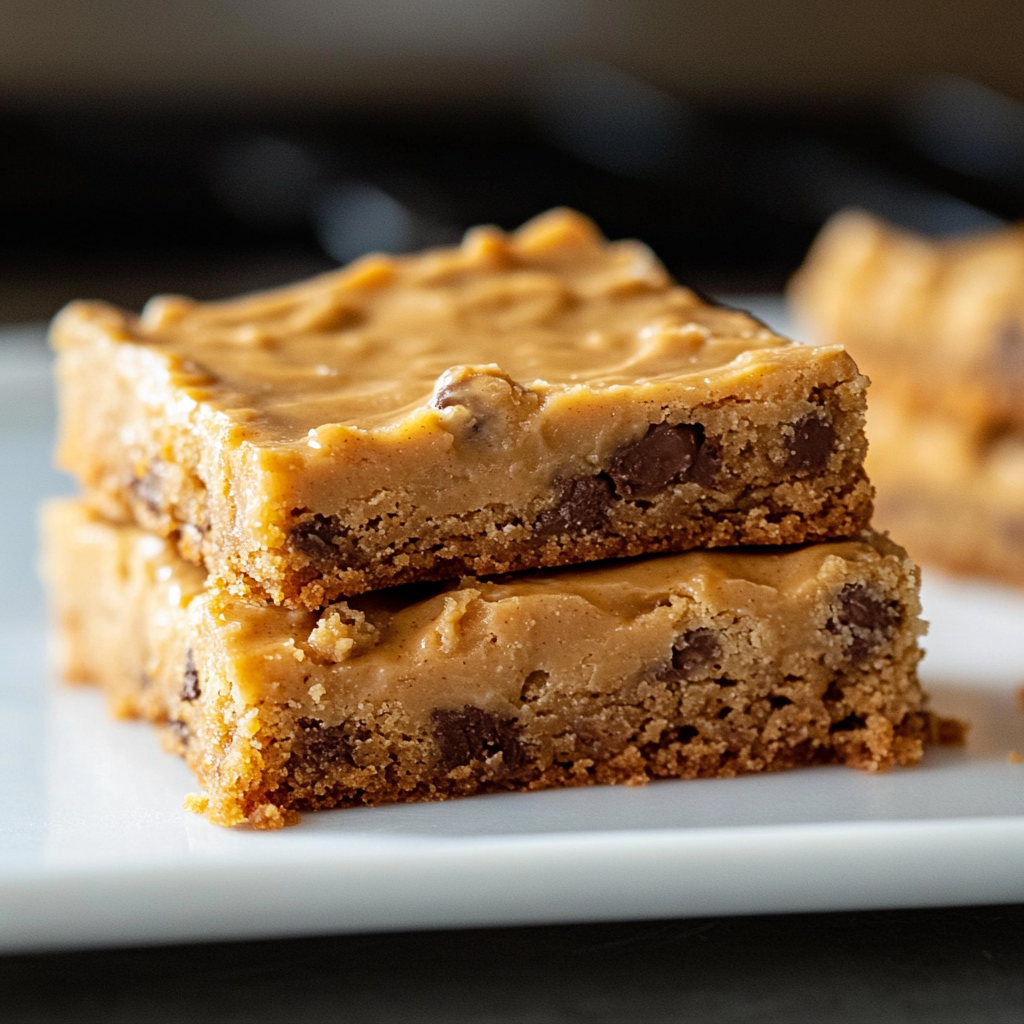
Versatile Treat: Customize your peanut butter lunch lady cookie bars by adding chocolate chips or nuts for extra texture. You can even tweak the recipe slightly by using different nut butters or adding oats for added nutrition.
Ingredients
Here’s what you’ll need to make this delicious dish:
- All-Purpose Flour: Essential for creating the structure of the cookie bars; ensure it’s sifted for best results.
- Granulated Sugar: Adds sweetness and helps achieve that desirable chewy texture.
- Brown Sugar: Provides moisture and deeper flavor; light or dark brown sugar works well.
- Peanut Butter: Use creamy or crunchy based on preference; choose a high-quality brand for optimal flavor.
- Butter: Softened at room temperature; this helps create a rich base for the bars.
- Eggs: Helps bind the ingredients together; make sure they are at room temperature for best mixing.
- Baking Powder: Helps the bars rise slightly while baking; ensure it’s fresh for best results.
The full ingredients list, including measurements, is provided in the recipe card directly below.
How to Make peanut butter lunch lady cookie bars
Follow these simple steps to prepare this delicious dish:
Preheat Your Oven: Preheat your oven to 350°F (175°C) and prepare a baking pan (9×13 inches) by greasing it lightly with cooking spray.
Mix Wet Ingredients: In a large mixing bowl, combine softened butter, granulated sugar, brown sugar, and peanut butter. Use an electric mixer on medium speed until creamy and well blended.
Add Eggs and Mix Again: Add the eggs one at a time into your wet mixture while continuing to mix until fully incorporated. This step ensures each egg blends well before adding the next.
Sift Dry Ingredients Together: In another bowl, whisk together flour and baking powder. Gradually add this dry mixture into your wet mixture until just combined—be careful not to overmix.
Spread in Pan: Pour the batter into your prepared baking pan evenly spreading it out with a spatula.
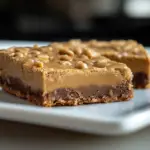
Bake Until Golden Brown: Place in preheated oven and bake for about 20-25 minutes or until golden brown around the edges. Allow cooling slightly before slicing into squares.
Transfer to plates and enjoy warm or at room temperature!
Tips and Tricks
Here are some helpful tips to ensure the best results for your dish:
Use Room Temperature Ingredients: Allow eggs and butter to sit out before baking; this helps create a smoother batter that mixes evenly.
Don’t Overmix Batter: Once you combine wet and dry ingredients, mix only until just combined; overmixing can lead to tough cookies.
Check Baking Time Carefully: Every oven is different; check for doneness by inserting a toothpick—if it comes out clean or with just crumbs attached, they’re ready!
Add Toppings If Desired: Feel free to top with chocolate chips or drizzle melted chocolate on top after cooling for an extra indulgent touch!
Store Properly For Freshness: Keep leftover cookie bars in an airtight container at room temperature; they stay fresh for up to five days.
Enjoy making these delightful peanut butter lunch lady cookie bars! They’re sure to be a hit among family and friends alike.
Mistakes to avoid
Overmixing the Dough
One common mistake when making peanut butter lunch lady cookie bars is overmixing the dough. When you mix the ingredients too vigorously, you introduce air into the mixture, which can lead to a dry texture. To achieve a perfectly chewy and moist bar, mix just until the ingredients are combined. This helps maintain the rich peanut butter flavor while ensuring a soft consistency that melts in your mouth.
Using Cold Ingredients
Another mistake is using cold ingredients straight from the refrigerator. For peanut butter lunch lady cookie bars, it’s essential to use room temperature ingredients like butter and eggs. Cold ingredients can create a lumpy batter and prevent proper blending, leading to uneven baking. Allow your butter to soften at room temperature for about 30 minutes before mixing. This simple step ensures a smooth and uniform dough for your bars.
Skipping the Parchment Paper
Failing to line your baking pan with parchment paper is another error that can ruin your cookie bars. Without parchment paper, the bars may stick to the pan, making it challenging to cut them into neat squares after baking. Always line your pan with parchment paper or grease it generously. This ensures easy removal and keeps your peanut butter lunch lady cookie bars intact, maintaining their delicious shape and presentation.
Ignoring Baking Time
Many people overlook the importance of monitoring baking time when preparing peanut butter lunch lady cookie bars. Each oven is different, so relying solely on the timer can lead to overbaked or underbaked treats. Start checking for doneness a few minutes before the suggested time in the recipe. The edges should be golden brown while the center remains slightly soft; they will firm up as they cool. This attention to detail guarantees perfect results every time.
Not Letting Them Cool Properly
Finally, not allowing your peanut butter lunch lady cookie bars to cool properly can lead to a crumbly mess when you cut into them. It’s tempting to dig in right away, but patience pays off! Let them cool in the pan for at least 10-15 minutes before transferring them to a wire rack. This cooling period allows them to set up nicely, making slicing easier and ensuring they hold their shape. Enjoy your delicious creation without any mishaps!
Serving Suggestions
This peanut butter lunch lady cookie bars is versatile and pairs wonderfully with milk. A cold glass of milk complements the rich, nutty flavors of the bars, enhancing their sweetness. Whether you prefer whole milk or a dairy alternative, the creamy texture balances perfectly with the chewy cookie bars.
These cookie bars also make an excellent addition to lunchboxes. Cut them into smaller squares for easy packing and serve alongside fresh fruit or yogurt. This combination provides a satisfying meal that combines protein and healthy fats with natural sugars from the fruit.
For a delightful dessert option, serve these bars warm with a scoop of vanilla ice cream. The contrast between the warm, gooey cookie texture and the cold ice cream creates a heavenly treat. Drizzle with chocolate or caramel sauce for an added touch of indulgence.
If you’re hosting a gathering, consider presenting these peanut butter lunch lady cookie bars on a platter with assorted toppings. Place bowls of crushed nuts, chocolate chips, and sprinkles around so guests can customize their own treats. This interactive element adds fun to any event while showcasing the deliciousness of the bars.
FAQs
Can I substitute ingredients in peanut butter lunch lady cookie bars?
Absolutely! You can swap regular flour for gluten-free flour to accommodate dietary needs. Additionally, use natural peanut butter instead of processed varieties for a healthier option. Just ensure that any substitutions maintain similar consistencies for best results.
How should I store leftover peanut butter lunch lady cookie bars?
Store your leftover cookie bars in an airtight container at room temperature for up to three days. For longer storage, place them in the refrigerator where they can last up to a week. You can also freeze them for up to three months by wrapping each bar individually in plastic wrap.
What makes these cookie bars different from regular cookies?
These peanut butter lunch lady cookie bars are thicker and chewier than traditional cookies. They have a denser consistency due to the baking method used, which allows them to be cut into squares rather than shaped individually. This makes them more convenient for serving and sharing.
Can I add mix-ins to my peanut butter lunch lady cookie bars?
Definitely! Feel free to add mix-ins like chocolate chips, butterscotch chips, or chopped nuts to enhance flavor and texture. Just fold them into the batter before baking for an extra layer of deliciousness that complements the peanut butter base.
Conclusion
In summary, peanut butter lunch lady cookie bars are not only delicious but also incredibly versatile. They pair excellently with milk and can be enjoyed as part of a balanced meal when served with fruits or yogurt. These bars adapt well to various occasions, whether it’s casual snacking or elegant gatherings where guests can personalize their treats. Storing leftovers is straightforward; simply keep them in an airtight container at room temperature or refrigerate them for longer freshness. With opportunities for ingredient substitutions and mix-ins, this recipe allows plenty of creativity while delivering delightful flavors that everyone will love.
Delicious Peanut Butter Lunch Lady Cookie Bars
- Total Time: 40 minutes
- Yield: Approximately 12 servings
Description
Peanut butter lunch lady cookie bars are a delightful throwback to school days, combining the irresistible flavors of creamy peanut butter with a chewy texture that everyone loves. These simple bars are perfect for any occasion, whether you’re looking for a satisfying after-school snack or a sweet treat to share at family gatherings. With minimal ingredients and straightforward preparation, even novice bakers will find success in creating these nostalgic delights. Customize your cookie bars with chocolate chips or nuts for an extra flavor boost, and enjoy them warm or at room temperature for a delectable experience that evokes fond memories.
Ingredients
- All-purpose flour
- Granulated sugar
- Brown sugar
- Peanut butter (creamy or crunchy)
- Butter (softened)
- Eggs
- Baking powder
Instructions
- Preheat your oven to 350°F (175°C) and grease a 9×13-inch baking pan.
- In a large bowl, mix softened butter, granulated sugar, brown sugar, and peanut butter until creamy.
- Beat in eggs one at a time until fully incorporated.
- In another bowl, whisk together flour and baking powder; gradually add to the wet mixture until just combined.
- Spread the batter evenly in the prepared pan.
- Bake for 20-25 minutes until golden brown; let cool before slicing into squares.
- Prep Time: 15 minutes
- Cook Time: 25 minutes
- Category: Dessert
- Method: Baking
- Cuisine: American
Nutrition
- Serving Size: 1 serving
- Calories: 200
- Sugar: 12g
- Sodium: 150mg
- Fat: 10g
- Saturated Fat: 4g
- Unsaturated Fat: 6g
- Trans Fat: 0g
- Carbohydrates: 26g
- Fiber: 1g
- Protein: 4g
- Cholesterol: 30mg
Keywords: - Use room temperature ingredients for better mixing. - Avoid overmixing to maintain chewiness. - Add chocolate chips or chopped nuts for extra flavor. - Store leftovers in an airtight container at room temperature for up to five days.