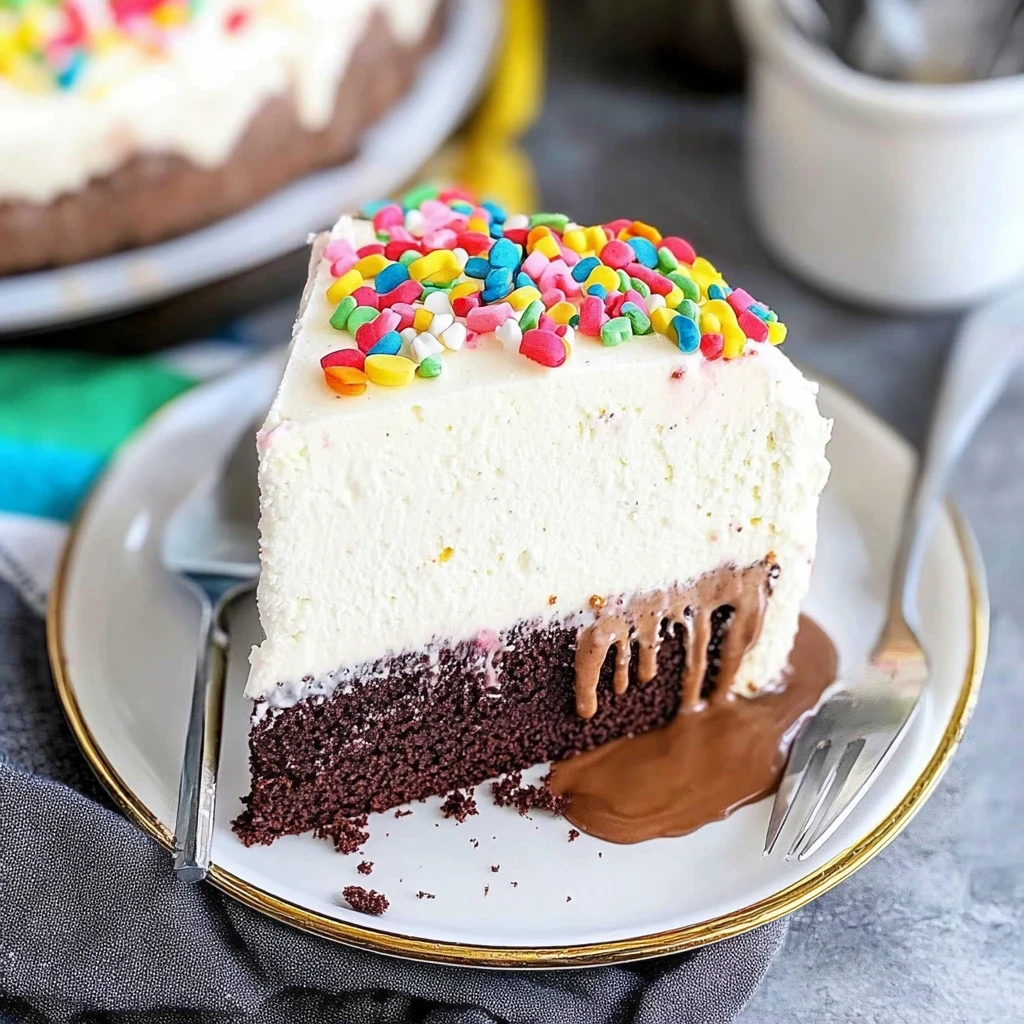
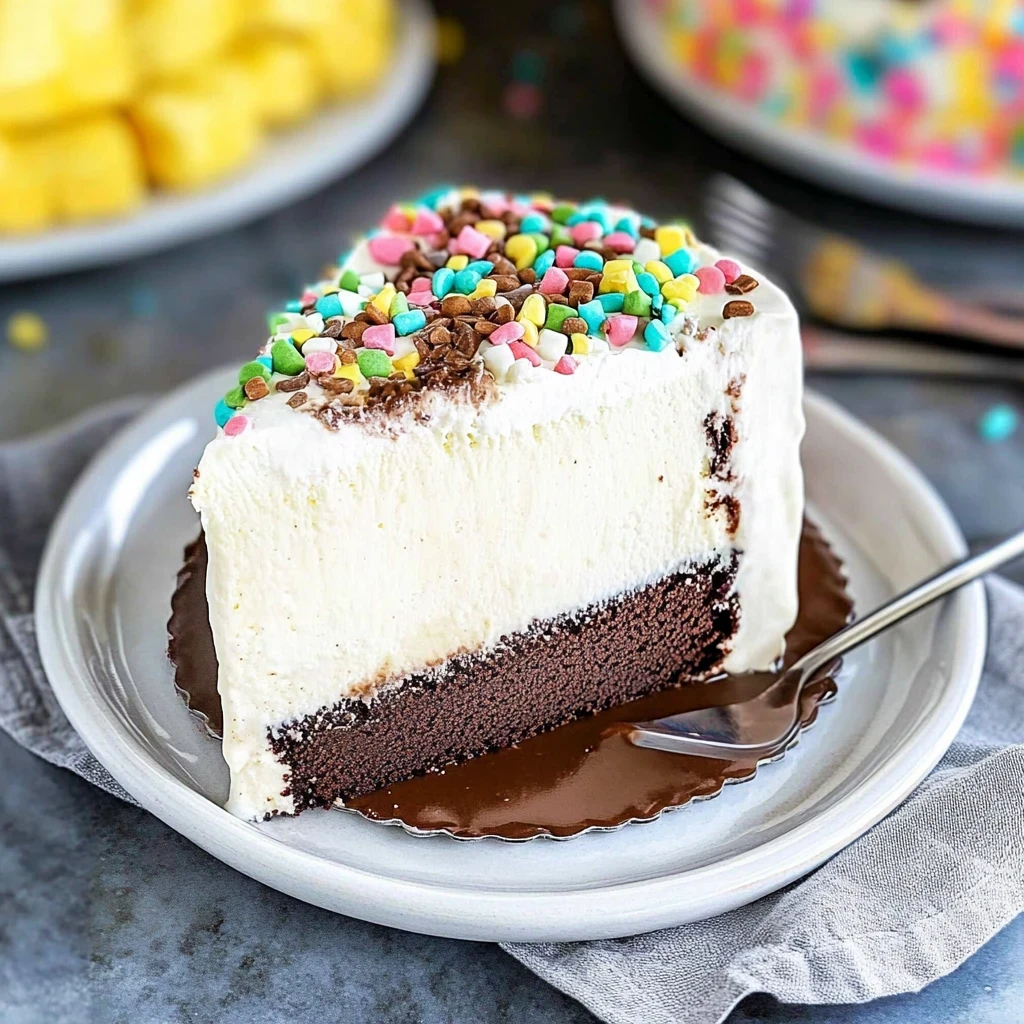
Imagine a dessert that combines the creamy bliss of vanilla and chocolate ice cream, layered with crunchy cookie crumbs, all topped with a luscious whipped topping. Yes, we’re talking about the legendary Dairy Queen ice cream cake! This delightful treat not only cools you down on a hot summer day but also brings back memories of birthday celebrations and family gatherings, where one slice is never enough.
As you gather around the table, laughter fills the air, and someone inevitably makes that first cut into the frozen masterpiece. The anticipation builds as everyone dives into their piece, savoring each cold bite that melts effortlessly in your mouth. Whether it’s a birthday party or just a Friday night treat, this Dairy Queen ice cream cake is sure to steal the spotlight and create sweet memories that linger long after the last crumb has vanished.
Why You'll Love This Recipe
- This delightful dairy queen ice cream cake is a breeze to whip up, making it perfect for last-minute celebrations
- The rich combination of vanilla and chocolate ice creams creates a flavor explosion that will make your taste buds dance
- With its beautiful layers and elegant frosting, this cake is sure to impress your guests and elevate any occasion
- Whether it’s a birthday bash or just a Tuesday treat, this cake adapts to any festive mood!
Celebrating my daughter’s birthday with this dairy queen ice cream cake brought smiles and sweet memories to our family gathering.
Essential Ingredients
Here’s what you’ll need to make this delicious Dairy Queen ice cream cake:
- Vanilla Ice Cream: Use one quart of softened vanilla ice cream for a creamy and sweet base layer.
- Chocolate Ice Cream: One quart of softened chocolate ice cream adds a rich, indulgent flavor contrast.
- Chocolate Cookie Crumbs: One cup of chocolate cookie crumbs provides a delightful crunch and enhances the cake’s texture.
- Whipped Topping: One cup of whipped topping is perfect for frosting, creating a light and airy finish.
- Chocolate Syrup: A tablespoon of chocolate syrup drizzled on top adds an extra touch of sweetness and visual appeal.
The full ingredients list, including measurements, is provided in the recipe card directly below.
Let’s Make it together
Prepare the Cake: Begin by gathering your tools—a round cake pan, a spatula, and measuring cups. Take your quart of vanilla ice cream and let it soften just enough to be pliable. Once it’s ready, spread half of this creamy goodness evenly into the bottom of your cake pan. You’ll want to smooth it out until it resembles a soft, white canvas. Next, grab those chocolate cookie crumbs and sprinkle half over the vanilla layer. The contrast in colors will make you smile! Now, take your softened chocolate ice cream and spread it over the cookie crumbs, working gently to maintain that lovely layered effect. Once that’s done, top off with the remaining vanilla ice cream, smoothing it one last time for a beautiful finish. Cover the cake with plastic wrap and place it in the freezer for at least 2 hours; this waiting period is crucial for achieving that perfect firm texture.
Frost and Serve: After your cake has set firmly in the freezer, it’s time for the grand reveal! Remove it from the freezer and gently take it out of the pan—this part is where you can feel the excitement building. With your whipped topping at the ready, spread it generously over both the top and sides of your cake. This is where you can get creative; make swirls or peaks to add visual flair! Finally, drizzle chocolate syrup over the top as if you’re adding a finishing touch to a masterpiece. The rich aroma of chocolate will fill your kitchen, making it hard to resist slicing into this beauty right away. You can either serve immediately or pop it back into the freezer for later enjoyment—just remember to slice carefully so everyone gets a piece of that delightful layered magic!
Chef's Helpful Tips
- Let the ice cream soften for about 10-15 minutes before spreading to ensure smooth layers
- Use a spatula dipped in warm water for easier spreading of the ice cream layers
- For a more indulgent flavor, consider adding crushed chocolate cookies between the layers for extra crunch
Dairy Queen Ice Cream Cake: A Homemade Delight
Dairy Queen ice cream cake is a delicious treat that combines the creamy textures of vanilla and chocolate ice cream with the crunch of chocolate cookie crumbs. This recipe allows you to recreate that iconic dessert at home, perfect for celebrations or any special occasion.
Perfecting the Cooking Process
To ensure the best results, start by preparing your cake layers in sequence. First, spread half of the softened vanilla ice cream in the bottom of your cake pan, followed by half of the chocolate cookie crumbs. Next, layer on the softened chocolate ice cream and finish with the remaining vanilla ice cream. This method guarantees even distribution and texture throughout.
Ingredients You Will Need
To create your Dairy Queen ice cream cake, gather these essential ingredients: for the cake layers, you’ll need 1 quart each of softened vanilla and chocolate ice cream, along with 1 cup of chocolate cookie crumbs. For frosting, prepare 1 cup of whipped topping and 1 tablespoon of chocolate syrup for drizzling.
Step-by-Step Instructions
Start by spreading half of the softened vanilla ice cream into the bottom of a cake pan, smoothing it out evenly. Sprinkle half of the chocolate cookie crumbs over this vanilla layer. Next, carefully spread the softened chocolate ice cream over the cookie crumbs and smooth it out evenly. Top this layer with the remaining vanilla ice cream and ensure it is smooth as well. Cover your cake with plastic wrap and freeze it for at least 2 hours or until firm.
When you are ready to frost and serve your cake, remove it from the freezer and take it out of the pan. Spread whipped topping over both the top and sides, creating a beautiful finish. Finally, drizzle chocolate syrup over the top to add a delightful touch. You can slice and serve immediately or return it to the freezer until it’s time for dessert.
Serving Suggestions
This Dairy Queen ice cream cake is perfect for any gathering or celebration. To elevate your presentation, consider serving slices with additional chocolate syrup or fresh fruits like strawberries or raspberries on the side. Enjoy this homemade version that captures all the joy of a classic favorite!
Add Your Touch
Feel free to customize your dairy queen ice cream cake by swapping out the vanilla and chocolate ice creams for your favorite flavors, such as strawberry or mint chocolate chip. You can also add layers of fresh fruit like sliced strawberries or bananas for a refreshing twist. For an extra crunch, consider mixing in some chopped nuts or using different cookie crumbs, like Oreos or graham crackers.
Storing & Reheating
To store your dairy queen ice cream cake, wrap it tightly in plastic wrap or aluminum foil and keep it in the freezer for up to one month. Refrain from reheating; this cake is best enjoyed frozen. Simply slice and serve straight from the freezer for optimal texture.
FAQ
What are the main ingredients for dairy queen ice cream cake?
The main ingredients include vanilla and chocolate ice cream, chocolate cookie crumbs, and whipped topping.
How long does it take to prepare dairy queen ice cream cake?
Preparation takes 30 minutes, but freezing requires at least 2 hours for firmness.
Can I customize the flavors in my dairy queen ice cream cake?
Yes, you can use different ice cream flavors and cookie crumbs for a unique twist.